
This process involves calibrating the profilometer signal by using an indentation with known dimensions. The calibration will be prompted by CORSICA based on time (every 3 hours) and temperature fluctuations (±2.5 ̊C).
These are the steps involved in the profilometer calibration:
- Position the crosshead and place the profilometer calibration sample provided by PLX on the platen (you can use the profilometer calibration jig).
- Go to Tools > Calibrate > Profilometer. When ready, click “Start”.
- A dialogue box will appear to input the calibration sample indent depth. This can be found on the calibration sample and sample box. Click “OK”.
- The indenter housing moves downward until the LVDT touches the sample.
- The indenter housing is retracted.
- The profilometer moves across to the (x, y) location of the indentation axis.
- A dialogue box now appears, for positioning of the (x, y) location of the profilometer so that it can scan the indent. This is done via the x- and y-direction arrows within the dialogue box.
- Move the profilometer so that it is above the indent. The tip should be positioned such that it is aligned with centre of the indent in the x direction (this should be checked visually, looking through the workspace). When this is lined up close to the centre, use the y control to do the same in the y direction. When this has been completed, click “Yes”.
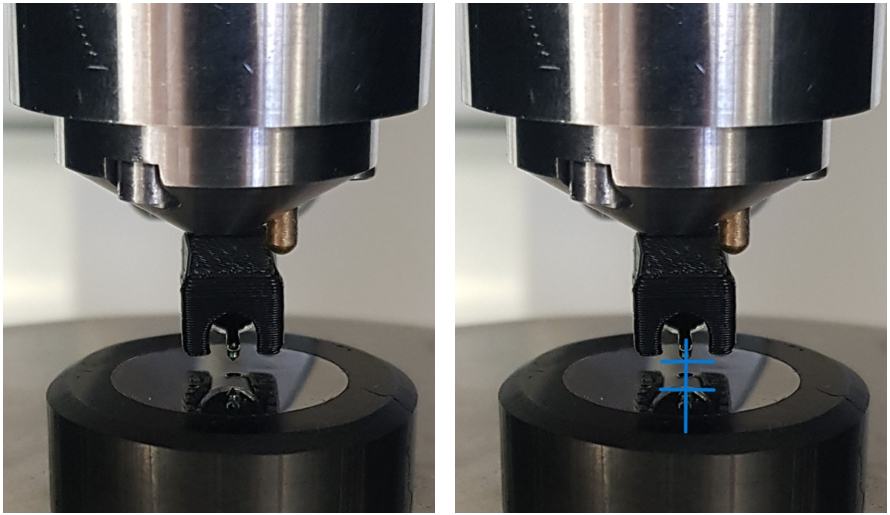
- The profilometer carries out a series of scans in the xy plane, until the location of the centre of the indent has been established (and the depth at that point has been used to calibrate its output). The profilometer returns to its parked position.
- Click “Finish” on the dialogue box and retrieve the calibration sample.
If the profilometer calibration sample is lost or damaged please contact us at support@plastometrex.com.